
These delicious, sweet, and chewy sweet potato balls are a staple street food snack in Thailand. I first had these in one of the night markets we visited where street vendors lined up selling different types of delicious Thai staples. This snack is locally known as Khanom Kai Nok Krata because they are small like quail eggs, (Khanom = snack, kai nok krata = quail eggs) and they are quite easy to make at home.
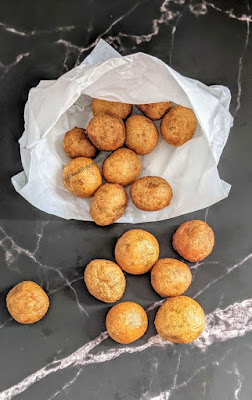
The outside is crisp and like a little donut, and the inside is soft and chewy.
This popular street food is also known as sweet potato balls amongst the foreigners. I would say, this tastes almost like a mini doughnut, they have that yummy chewiness and airiness we all love in doughnuts. But this doughnut would be the easy to make since there is no yeast, no kneading, no proofing. You can also find similar versions in Malaysia and Indonesia.
This popular street food is also known as sweet potato balls amongst the foreigners. I would say, this tastes almost like a mini doughnut, they have that yummy chewiness and airiness we all love in doughnuts. But this doughnut would be the easy to make since there is no yeast, no kneading, no proofing. You can also find similar versions in Malaysia and Indonesia.
Sweet potato is the base of this dough, so not only does that make it flavourful, it's a snack you can munch on without guilt.
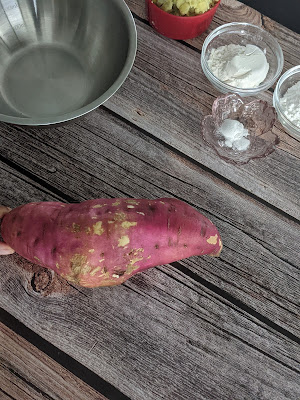
You can use any kind of sweet potato you like as long as they're not the orange-flesh ones because they are too wet.
You can use any kind of sweet potato you like as long as they're not the orange-flesh ones because they are too wet.
Do make sure to check out the NOTES/ TIPS before you start the recipe.
To start with do check out these few important things:
- As a general thumb rule, you should use the sweet potatoes with pale yellow color flesh inside. This type of potatoes make the best sweet potato balls. Avoid using orange color ones because they end up being too wet after cooked.
- Always remember to deep fry these in medium low heat as they burn easily. It takes about 3 to 4 minutes. They will float in the hot oil when cooked.
- The recipe mentions about tapioca starch, which you should be able to find easily in asian section of your store. But if you don't get them you can swap them for cornflour/cornstarch. The texture will be slightly different – softer and not as chewy but still delicious.
- If using corn flour - it will be the same amount as tapioca flour mentioned below.
Make sure to check out NOTES/TIPS right below the recipe before you start making them. Will help you get the perfect Khanom Kai Nok Krata or Sweet Potato Balls/ Doughnut
Ingredients:
- 1 cup sweet potato (see note)
- 2-3 Tbsp sugar (see notes)
- ¼ tsp salt
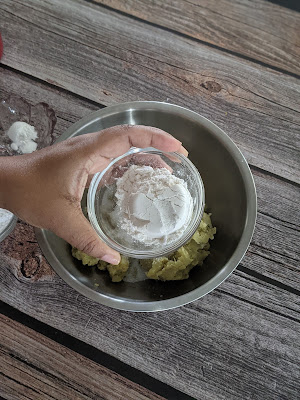
- 30 g or 1/3 cup of tapioca starch (see Notes)
- 1 Tbsp all-purpose flour/ Maida
- ¼ tsp baking powder
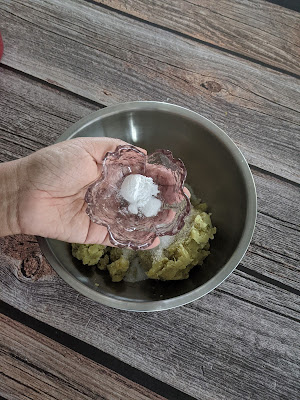
- 1-3 Tbsp coconut milk (depends on moistness of the sweet potato)
Method:
- Peel & cut sweet potato into chunks and steam them until fully cooked, around 10-15 minutes.
- To check if its done, pierce one piece with a fork and it should go in with NO resistance. Thats when its done.(SEE NOTES).
- Transfer the potatoes on to a mixing bowl and mash with a fork until smooth.
- Let it cool to room temp.
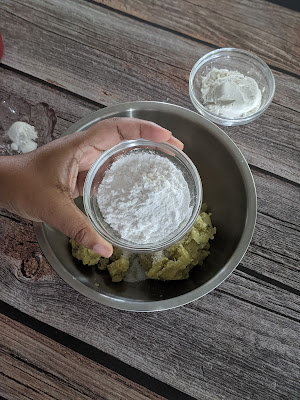
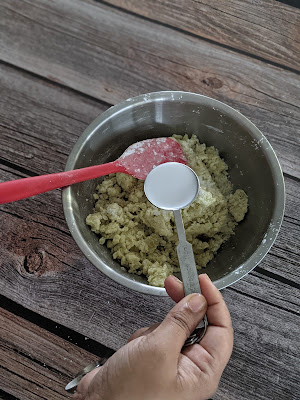
- To the cooled mashed potato, add sugar and salt then stir until combined.
- Add tapioca starch and flour, then sift in baking powder
- Stir everything together briefly. This helps us to see where the dough is at in terms of moistness.
- If it needs more liquid to mix (i.e. there's a lot of dry flour that can't be incorporated) add coconut milk, 1 Tbsp at a time, until all the flour can be incorporated.
- Make sure you stir in that 1 Tbsp of coconut milk well before adding the next, that is if needed. We do NOT want to add too much liquid and make this dough watery. We need it to be a smooth soft dough to form the balls.
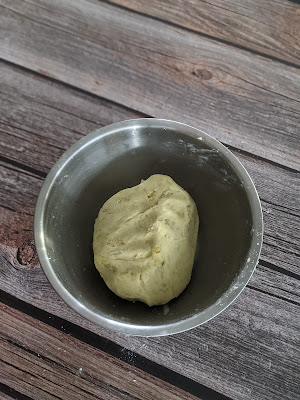
- Once all the dry flour has been incorporated, you should be able to form the dough into balls easily, it shouldn't stick to your hands but it should also be soft. (See video and images for the texture of dough you're aiming for.)
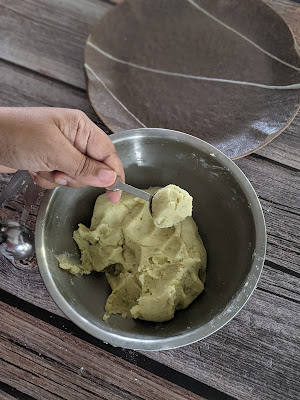
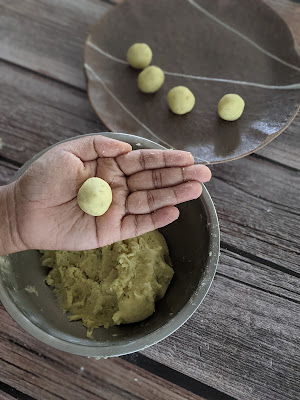
- Scoop up a teaspoon (measuring Tsp) of dough and form them into balls.
- Add enough oil into your pot or kadai to fry them.
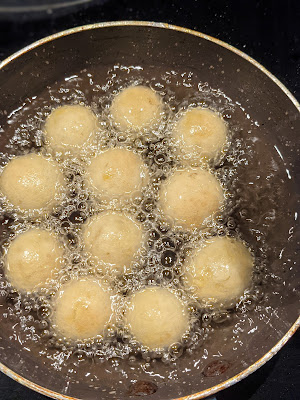
- Once the oil is hot, keep the flame on medium and add the balls one by one.
- Make sure you stir them as soon as they go in—they will sink to the bottom in the beginning and if you don't stir them soon enough they will develop a brown patch where they touch the bottom of the pot. (See Video)
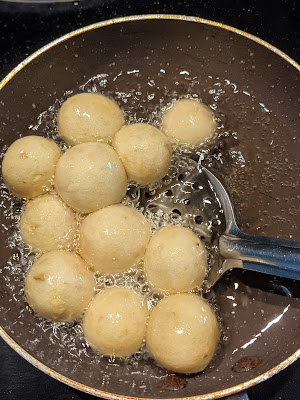
- Keep frying them, and eventually they will float, and once they float make sure you keep stirring them around so that they brown evenly. Let them fry for a full 5 mins, even if they colour has turned golden, in order to give them time to develop a crisp crust.
- Make sure to have the flame on medium or they could brown too quickly.
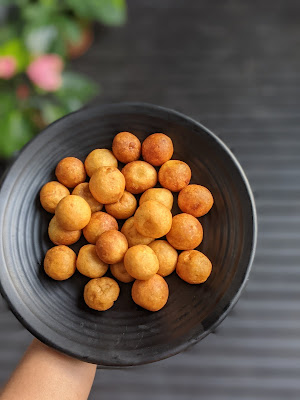
- Take them up, shake off excess oil, then place them on a paper-towel or kitchen napkin.
- Serve these once they're cool enough to eat, they're only good when eaten fresh!
NOTES:
- I have used around 3 tbsp sugar. You can add as per preference.
- Any type of sweet potato will work as long as it's not too moist. So the orange-flesh yams often called Do NOT work for this because they make the dough too wet.
- Take note of the texture of the sweet potato in the pictures and video, when it's mashed, if your sweet potato looks kind of like that or if its dryer, it will work fine.
- Do not boil them, STEAM them. This is because we want to minimize the moisture of the sweet potato! If we boil them, water content will be more.
- You could use Corn Starch /flour instead of tapioca flour
- Coconut Milk adds a very nice distinct flavour to it. But if you feel that your sweet potatoes are moist already, do not add coconut milk. It will end up in a slurpy dough, which we don't want.
- If you do not like coconut milk flavour (though recommended) you can always use water instead.
- Always add 1 tbsp coconut milk and mix it up, see the consistency and add more only if needed.
- If after 5 minutes of frying they're still not brown enough, just crank the heat and get them there. It just means your temp is a little low. Medium flame works fine.
- These do not keep well at all, so only fry as much as you can eat, and keep the rest of the dough to fry up later. The dough will keep in the fridge at least 2 days. Make sure to store in a air tight container.
If you like this recipe and happen to make it, use Hashtag #lynnskitchenjournal.
Go ahead and share it, like and subscribe :)
Looking for another Sweet-Potato recipe, you must try these Sweet- Potato Brownies
Also check out other such easy and tasty Snacks on the blog


Comments
Post a Comment