
Ingredients :
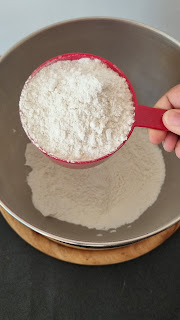
- Rice flour - 1 cup
- Water -1 1/2 cup / 1.5 cup (for dough)
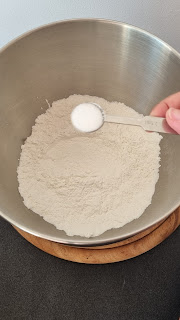
- Salt to taste
- Cumin 1/4 tsp
- Ghee- 1 tsp (Optional)
- Coconut 1 1/2 cup
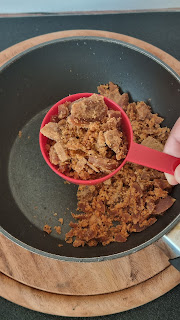
- Jaggery - 1/2 cup
- Water -1/4 cup (to melt Jaggery)
- Cardamom or Homemade Nut powder (Optional)
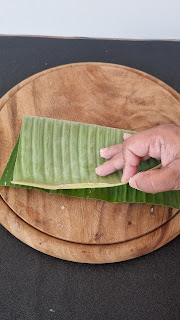
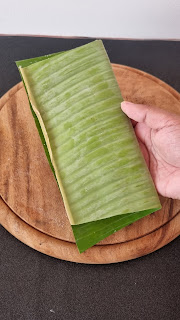
- Banana Leaf (cut into square) for assembling (*** see notes)
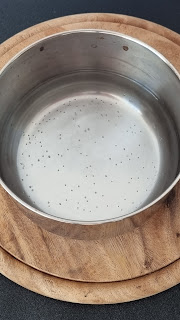
- First, Boil 1.5 cup of drinking water.
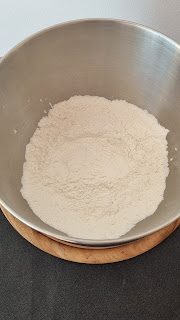
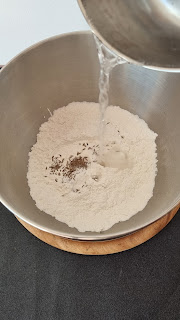
- While the water is boiling in a mixing bowl add rice flour, salt, cumin seeds and give it a mix.
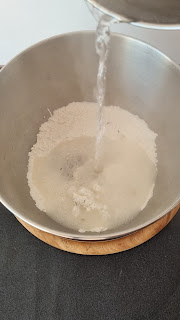
- Once the water is reached boiling point, Add in this hot water into the rice flour mix slowly, little at a time and mix well with a spatula.
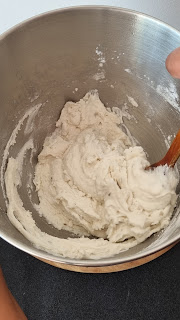
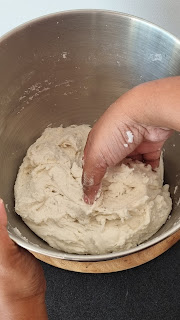
- Add in rest of the water as required. Once the heat is easy to handle without a spoon or spatula make use of your hands to roll and make it into a soft dough.
- Add in 1 tsp ghee (optional) and knead well. Cover & set aside.
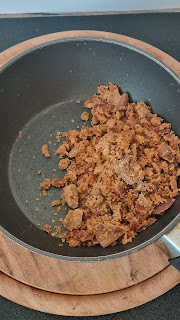
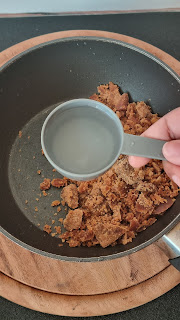
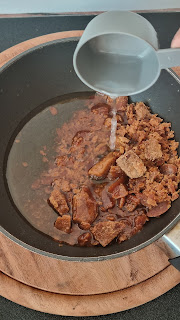
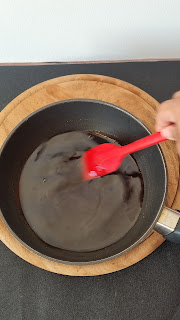
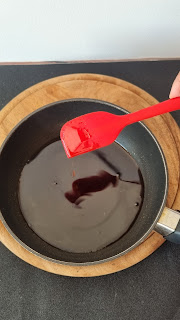
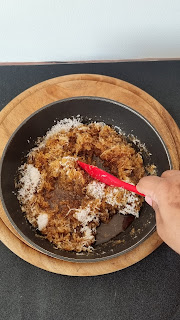
- Take a pan, and add in the Jaggery powder or cut jaggery * along with 1/2 cup of water and let the Jaggery melt.
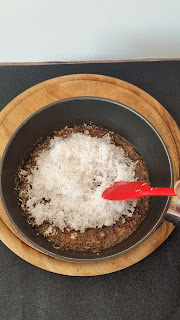
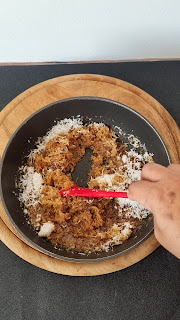
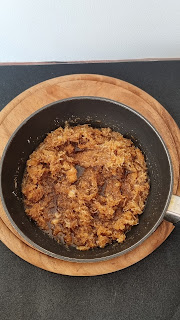
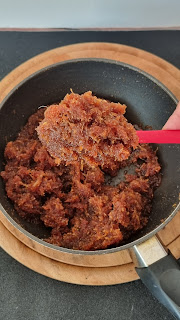
- Once it's all dissolved and slightly thick in consistency, add in the grated coconut and mix well until all the water is evaporated and we have a nice sweet thick filling.
- You can add in cardamom powder or nuts powder at this stage if you wish to. Keep aside for cooling.
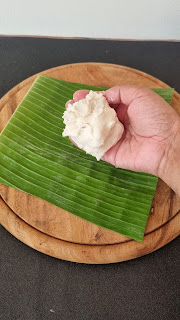
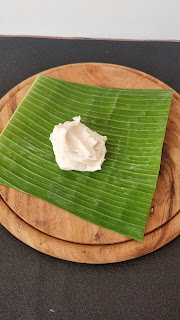
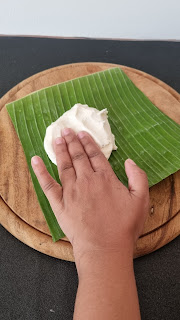
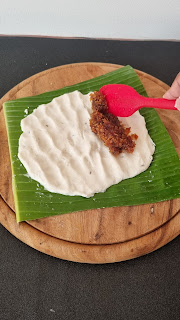
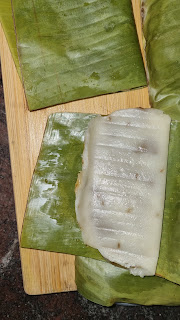
- Now to assemble, place a lemon size dough onto the center of the square piece of banana leaf** and flatten it with your fingers.
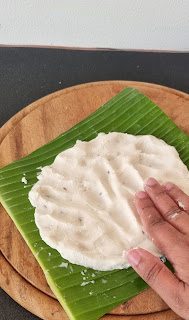
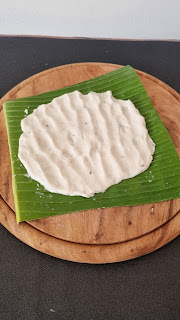
- Dip your fingers in water and try spreading it all over the leaf, making sure it's not very thick.
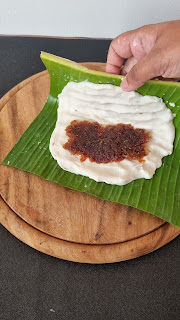
- Add in one tbsp or more of filling onto one side and spread.
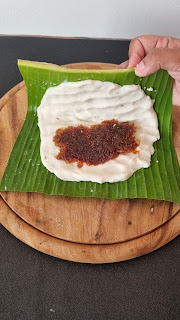
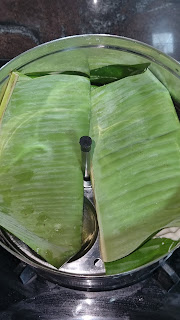
- Fold the leaf in half and seal the edges.
- Follow same process with rest of the dough.
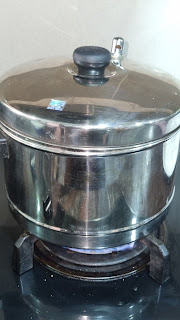
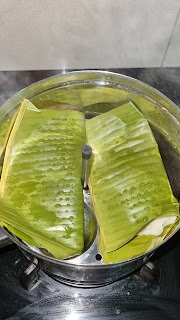
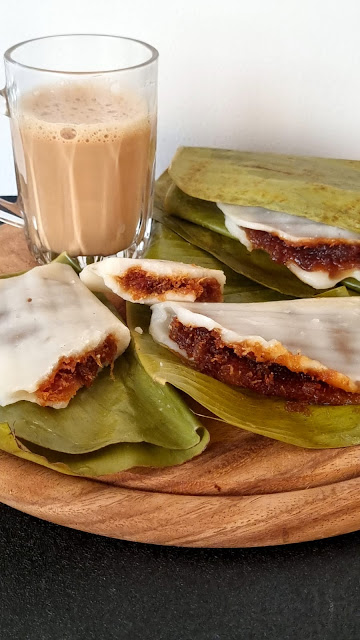
- Steam these in an idli cooker or a steamer for about 10-12 mins.
- You know it's perfectly cooked when the banana leaf can be easily removed from the dough.
- Have hot with a cup of naadan chaayaa or kattan kapi and enjoy.
Notes :
- Add enough water to make the dough soft and pliable. Add little by little only.
- The jaggery was perfect for this quantity of coconut. You can taste and add more if you prefer
- If using jaggery cubes, grate and add for easy melting. And after melting, strain before adding the coconut to avoid any impurities
- Spread the dough as thinly as possible on the banana leaf. This helps in cooking faster as well as tastes good.
- If you do not get banana leaf, you can use butter paper (used for baking) instead. It won't impart the banana leaf flavour, but will serve the purpose and taste will be as good as normal.
- You know it's perfectly cooked when the banana leaf can be easily removed from the dough. Don't cook it further or else the ends tend to become hard
- Although, having fresh is always more tastier. But if you have any leftovers, you can store in the fridge in an airtight container and same can be consumed within a day or two. Just steam them for 5-6 mins before consuming. DO NOT MICROWAVE.
Check other snacks out Here


nice
ReplyDeletenice
ReplyDelete